https://github.com/NorbertB29/geolocation-api-hook/tree/215f81d1438d617ecdf4a2f1fb7a067228ceb5f8
https://jw910911.tistory.com/108#comment13143318
포스팅을 작성하기에 앞서 위 깃허브와 블로그에서 도움을 받았음을 알립니다.
매번 모든 분들께 감사 인사를 드리지는 못하고 있지만 먼저 길을 개척해주시고 정보를 공유해주시는 많은 분들 덕분에 늘 감사하는 마음으로 공부하고 있습니다. 🙇♂️

JS 배우면서 다들 한 번쯤 해봤을 날씨 불러오기.
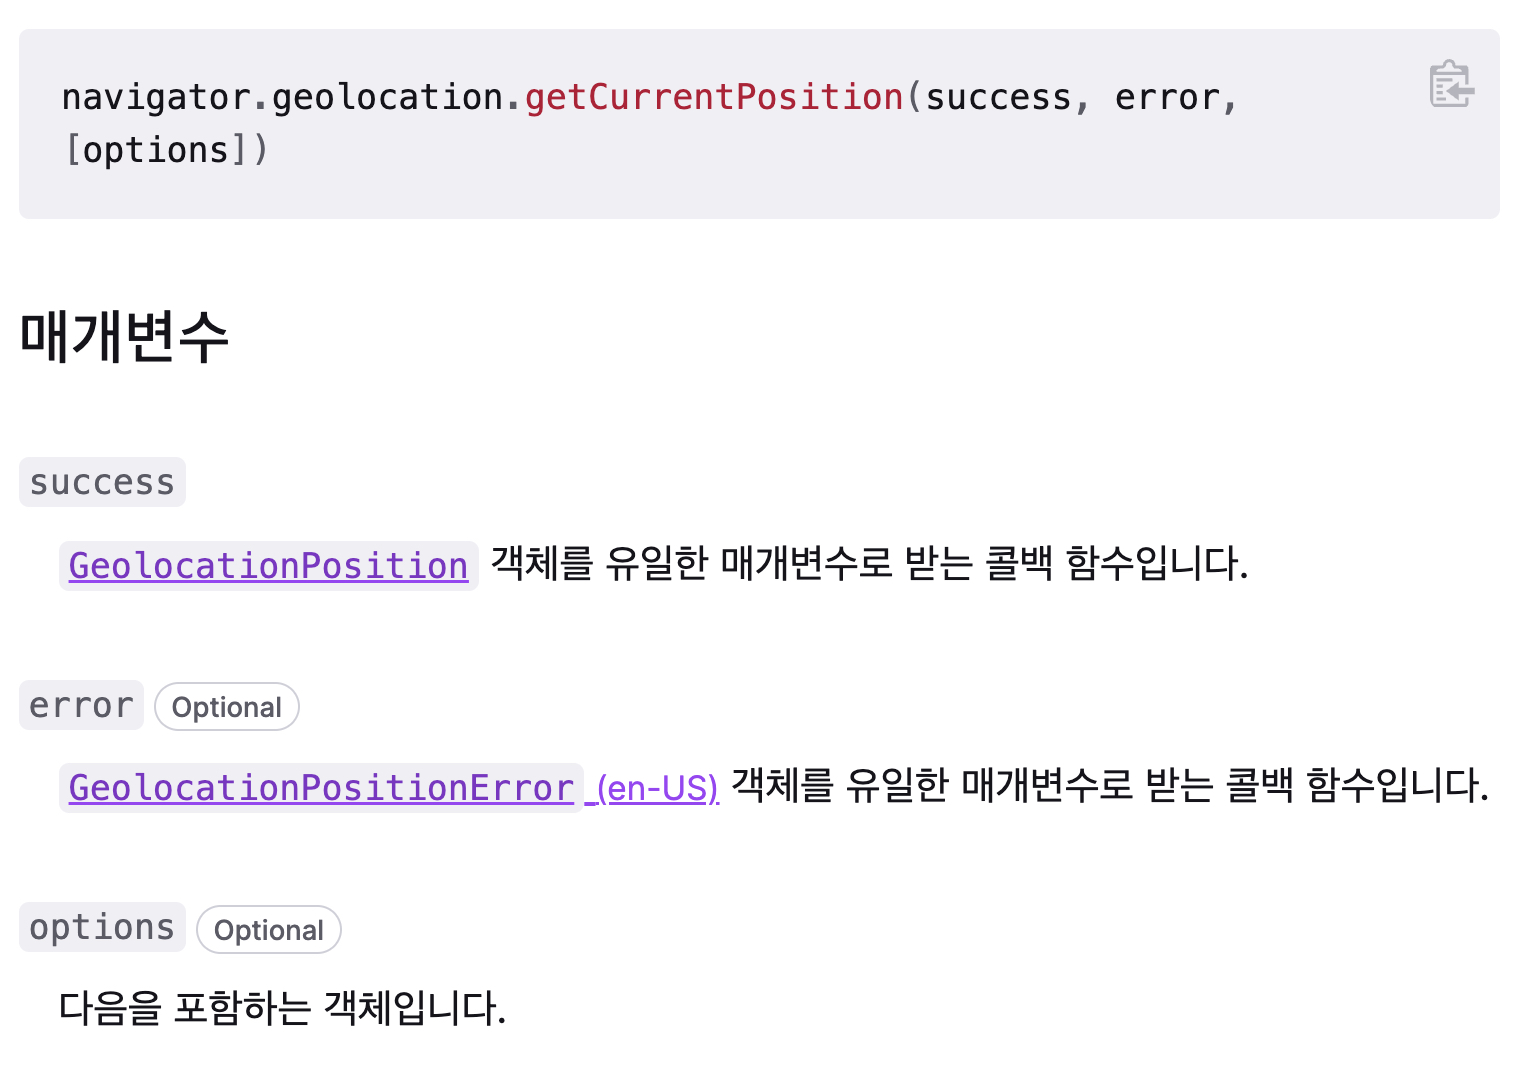
navigator.geolocation + getCurrentPosition || navigator.geolocation + getWatchPosition으로 사용자의 위치를 탐색한 뒤 위도와 경도 값을 받아와 weather API에 넣어주면 알아서 결과 값을 뱉어준다.
(getCurrentPosition은 한 번 받아오는 것이고 getWatchPosition은 꾸준히 받아오는 것 (ex> 지도앱) )
아주 간단한 것인데 굳이 geolocation을 hook으로 만들어서 사용하고 싶다는 생각을 했다가 많이 고생했다..
사실 고생했다고 하면 내가 혼자 결국 만들었다는 말 같은데 결국 구글신님의 가호로 해결했습니다.

1. 우선 geolocation을 hook으로 만드는 작업을 할 것이다.
const useCurrentLocation = (options = {}) => {
// 파라미터에 옵션을 따로 넣을 수 있도록 구성
  const [location, setLocation] = useState();
  const [error, setError] = useState();

  const handleSuccess = (location) => {
    const { latitude, longitude } = location.coords;
    setLocation({ latitude, longitude });
  };
// 위치를 가져오는 것에 성공하면 좌표 저장

  const handleError = () => {
    setError("Local navigation failed.");
  };
// 실패시 에러 메세지 지정

  useEffect(() => {
    if (!navigator.geolocation) {
      setError("Geolocation is not supported.");
      return;
    }
 // geolocation을 실행하는 것 자체를 실패할 경우 에러 메세지 지정

    navigator.geolocation.getCurrentPosition(
      handleSuccess,
      handleError,
      options
    );
  }, [options]);
// geolocaition 을 한 번 실행, option값이 바뀔 경우 재실행.

  return { location, error };
};

export default useCurrentLocation;
2. getCurrentPosition의 option을 지정해준다. 이것도 따로 모듈로 만들던지, 말던지 편한대로 하면 된다. 나는 모듈로 만들었다.
const positionOptions = {
  maximumAge: 0,
  // 뭔지 잘 모르겠다. MDN에서 5번 읽었는데 외계어 같다. 구글링 해봐도 잘 모르겠다.
  timeout: 5000,
  // 위치를 찾기 위해 최대 몇 ms를 소모할 것인가? 만약 infinity로 설정한다면 위치 정보를 받아오기 전까
  // 지는 아무 것도 반환하지 않는다.
  enableHighAccuracy: true,
  // 더 정밀한 위치 추적을 할 것인가? 다만 사용 시 시간 지연이나 배터리 사용량이 증가될 수있음.
  // 이거 켜도 전혀 정밀하지 않은데 끄면 얼마나 이상한 위치에 보내놓을 지 모름. 무조건 켜도록 하자.
};

export default positionOptions;
3. 사용할 컴포넌트에 불러오고 내가 화면상에 표시할 값들의 state를 준비한다.
나는 도시 이름, 날씨, 온도 세가지를 불러올 것이다.
function Weather() {
  const { location, error } = useCurrentLocation(positionOptions);
  const [city, setCity] = useState("");
  const [weather, setWeather] = useState("");
  const [temp, setTemp] = useState("");
  }
4. weather API를 제공하는 사이트에 가서 회원가입을 하여 user-Key를 발급 받은 뒤 api docs에서 시키는대로 입력하면 된다.
나는 openWeather:https://openweathermap.org/api 에서 제공하는 API를 사용하였으나 AccuWeather나 그 외에도 몇 군데가 있으니 취향에 맞게 사용하면 된다.
그리고 나는 axios를 사용했으나 fetch를 사용해도 당연히 무관하다.
  useEffect(() => {
    if (error) {
      return console.log("error");
    }
    // geolocation에서 error를 받아왔을 경우 error 출력
    // 사용자 위치 값을 받아왔을 경우 아래 코드 실행

    if (location) {
      const axios = require("axios");
      const weather_KEY = "몰?루";
      // user key는 직접 받아와서 사용하십시오.
      axios
        .get(
          `https://api.openweathermap.org/data/2.5/weather?lat=${location.latitude}&lon=${location.longitude}&appid=${weather_KEY}&units=metric`
        )
        // 위도, 경도, userKey를 넣어서 get 요청을하면 각종 정보를 보내준다.
        .then((response) => {
          console.log(response);
          setCity(response.data.name);
          setWeather(response.data.weather[0].icon);
          // 그냥 weather를 요청하면 날씨를 글자로 보내주고 icon을 붙이면 날씨에 맞는 이미지 url을 보내준다.
          setTemp(`${response.data.main.temp}°C`);
        })
        .catch(() => {
          alert("Local navigation failed.");
          // 실패했을 경우
          // 사실 여기서 실패는 위치 찾는 것에 실패한 게 아니라 적절한 문구는 아니다. 알아서 수정하십시오.
        });
    }
  }, [location]);
  // 단 한 번만 실행되며 location이 변경될 때만 재실행
5. 원하는대로 HTML, CSS 짜서 넣어주자.
나는 city에 state 값이 들어왔을 경우 날씨를 보여주고 아닐 경우 loading 메세지를 띄우도록 설정했다.
나는 styled-components를 사용해서 css를 설정한다.
참고하고 싶은 경우 https://7357.tistory.com/48를 확인해보자.
  return (
    <div>
      {!city == false ? (
        <WeatherDiv>
          <img src={`http://openweathermap.org/img/wn/${weather}.png`}></img>
          <span>{temp}</span>
          <p>{city}</p>
        </WeatherDiv>
      ) : (
        <CostumSpin tip={"Finding your location.."} />
      )}
    </div>
  );
const CostumSpin = styled(Spin)`
color: white;
`;
const WeatherDiv = styled.div`
user-select: none;
img {
width: 40px;
}
span {
font-size ${(props) => props.theme.fontSize.large}
}
p {
font-size: ${(props) => props.theme.fontSize.xsmall};
font-weight: 300;
}
`;
6. 순서가 이상해졌는데 해당 로딩 스피너? 는 Ant design라이브러리를 설치해줘야 사용 가능하다.
터미널에서 설치하고
npm install antd
// or
yarn add antd
import { Spin } from "antd";
import "antd/dist/antd.css";임포트 해주면 끝.
'Language & Framework > React.js' 카테고리의 다른 글
| React)유저가 전송할 수 있는 메일 폼 만들기(EmailJS) (0) | 2022.04.29 |
|---|---|
| redux를 손쉽게 LocalStorage에 저장하자, redux-persist (0) | 2022.04.27 |
| React에서 input : text에 value를 바꿀 수 있는 값으로 지정하기 (2) | 2022.04.20 |
| 리액트에서 무작위 백그라운드 이미지 설정하기 (feat. styled-components) (0) | 2022.04.18 |
| styled-components 기본 사용법 & ProviderTheme & globalSetting & motion-framer와 사용하기 (0) | 2022.04.17 |


